Community Photo Albums provide a way to receive photos safely from members of your school community who are not working directly on the yearbook. Photo contributors may upload images securely on any internet connected device (computer, tablet, phone). The uploaded images may then be reviewed by Editors & Editors-in-Chief to transfer to the yearbook design team.
Setting Up Community Albums
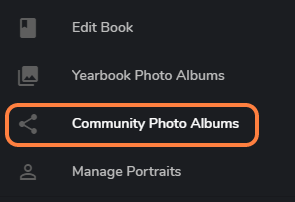
Editors and Editors-in-Chief may set up community albums. Click on Community Photo Albums on the left side menu to start the setup process.
Due to the Child Safety legislation, Community Photo Albums are password protected. The Editor-in-Chief creates this password when accessing the Community Photo Albums area for the first time. To set the password, click on Setup Community Photo Albums.

Create a password for accessing Community Photo Albums. Be sure to make a note of it - you'll need to provide this password to anyone uploading photos to Community Albums.

To ensure password security, include a mix of upper and lower case letters, as well as at least 1 number and 1 special character (@,!,#,$,%,^,&,*). Make a short phrase to make it easier to remember. For example: Yearbooks4us! or #ValleyviewIs2Awesome.
Creating a new Community Photo Album
To add an album, Click on + New Album, and give it a name. Click on Add Album.

Sharing Community Photo Albums
Community photo albums are accessed by photo contributors via a website link (url). The link will open their web browser to a page where they can upload photos safely.
Album links may be shared individually, or as a list of links to all albums at once.
- Share individual community albums if you need to receive images from a specific event or person. eg. share a 2nd Grade Candid album with selected homeroom teachers, or provide a link to a Homecoming album to the event photographer.
- Share a link of all album links trusted individuals involved in many school activities, such as the PTA, Administrators, or a general events photographer.
To copy a single album link, hover over the album and click on the ... menu in the top right corner. Choose Get shareable link.

The unique website link will appear. Click on Copy Link to paste it to an email or instant messaging service.

To get a list of links to all albums, click on the right-side menu then choose Copy Sharing Links. Click on the All albums' Copy Link button, then paste the link into an email or messenger service to send it to your photo contributors. Note that each album's individual link also appears in a list on this page, should you need to send selected links to a single person.

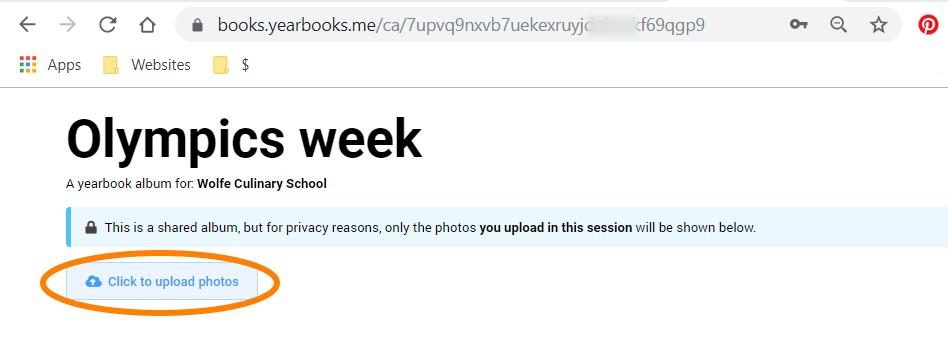
The recipient of this link will be directed to a web page with all community albums listed. From this page, they can access any album to upload photos to it after entering the password.
Send the link(s) to an individual album, all albums, or selected albums by email or instant message. Be sure to provide the Community album password so they can upload their photos.

Clicking on the link will prompt them to login with the password, then they may upload photos to the individual album.
Using Community uploads in your yearbook
Photos in Community Photo Albums must be moved into a Yearbook Photo Album in order to be added to your yearbook pages. This allows editors/editors-in-chief to exclude unsuitable images (duplicates, bad quality or inappropriate images) from consideration by the yearbook design team.
To move images, click into a community album, then select one or more photos. Click on Move Photos on the top menu, then choose the destination folder. The photos will disappear from the community album.

Resetting the Community Photo Album password
The Editor-in-Chief may reset the Community Photo Album password, should the password have been lost or you need to prevent someone from accessing the albums. Under the community albums area, click on the top right-corner menu, and choose Reset password. Create a new password and set it.
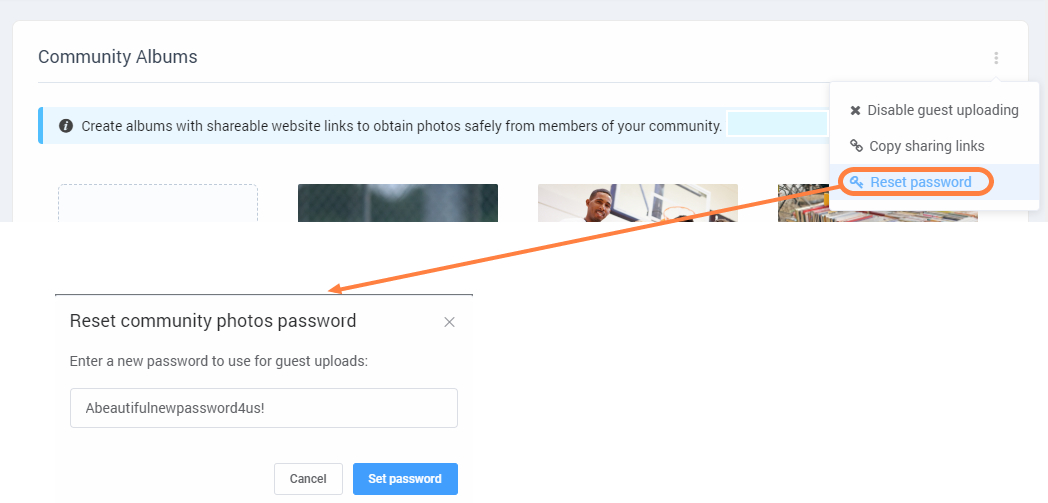
Note that you will need to let your community photo contributors know that the password has been reset.
Disabling Community upload links
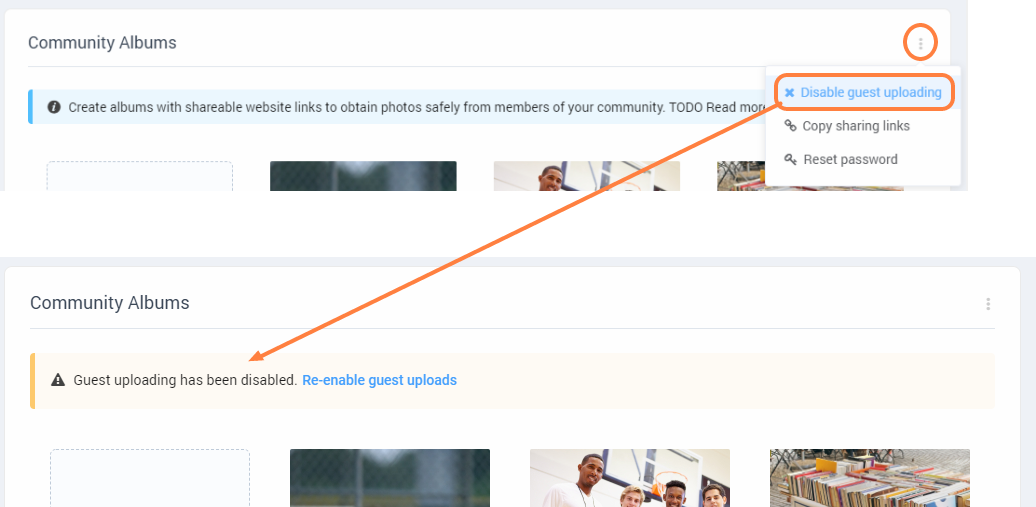
If you no longer wish to receive any images from your community, turn off the community photo albums from the top-right menu. If you need to re-enable uploads, click on the link displayed above your albums.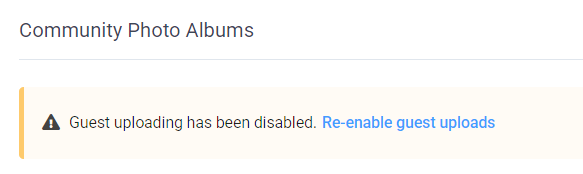
If you no longer want to receive photos from others for one particular Community Photo Album, you can turn off its shareable link. Hover over the album, then click on the menu icon to access the Get shareable link option. Toggle the Link Sharing is on button to the off position.
 | 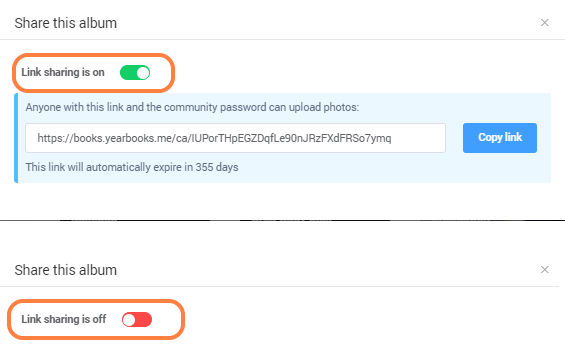 |
Albums with link sharing on will display a green link icon; disabled sharing will display a red link icon.
Managing Community albums
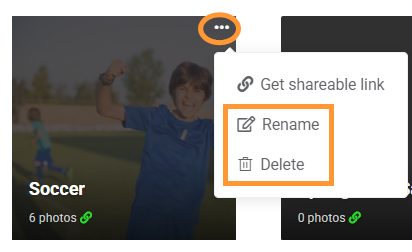
Community albums may be deleted and renamed. Hover over the album to access its menu, then choose Rename or Delete. Note that deleting a community album will delete all the images within it permanently.
Was this article helpful?
That’s Great!
Thank you for your feedback
Sorry! We couldn't be helpful
Thank you for your feedback
Feedback sent
We appreciate your effort and will try to fix the article