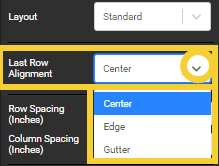
Choose a portrait template style, which portrait option to use (for multi-portrait records), last row alignment, and custom spacing.
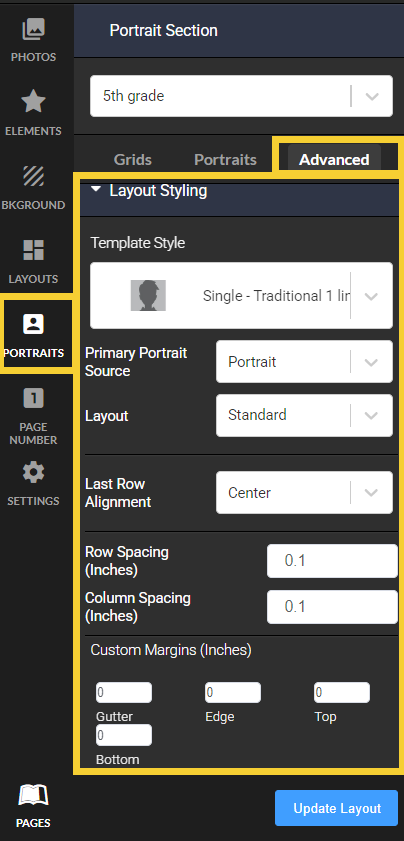 | Layout styling options include:
|
| Editing layout styling | ||
| Portrait template style | Portrait Source | Text Source |
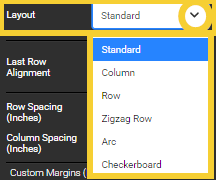
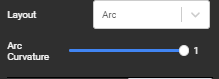
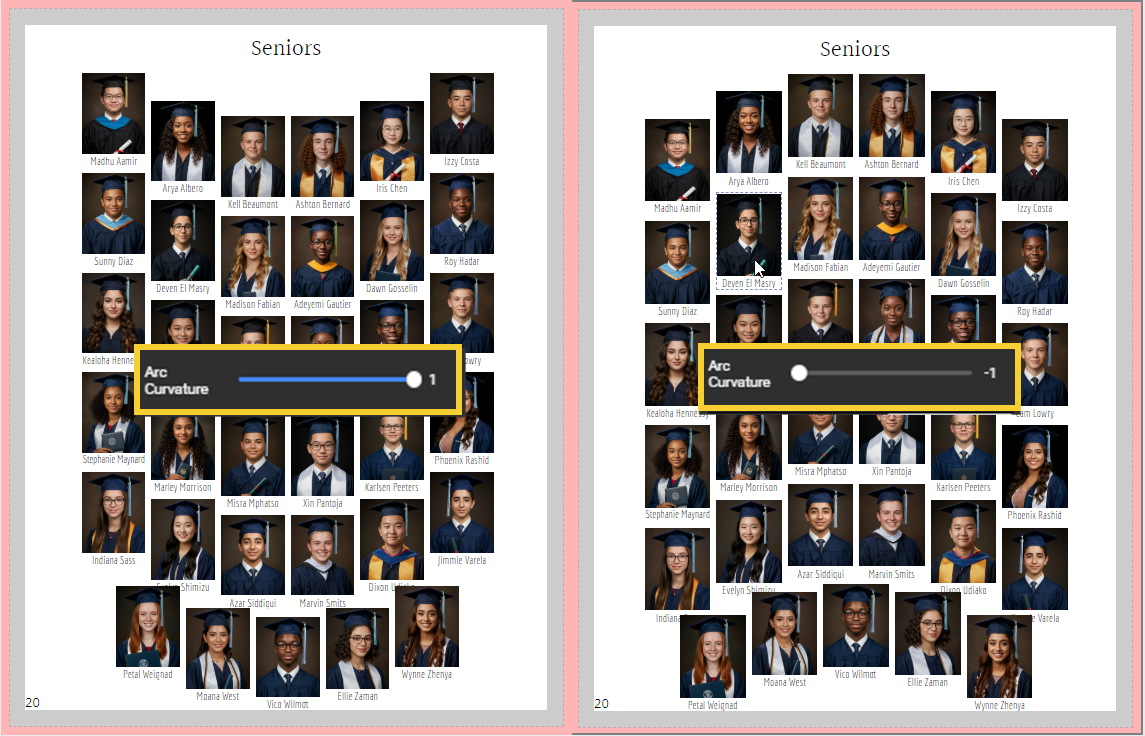
| Layout style | Row and column spacing | Custom Margins |
Editing layout styling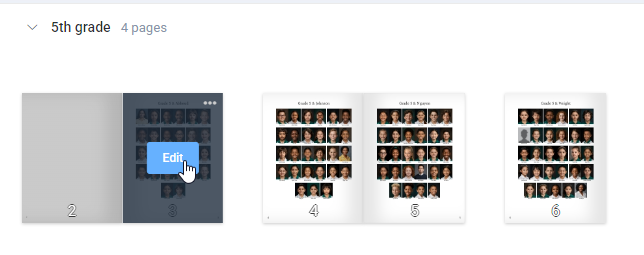 | Check out the book. Customizing portrait pages may cause structural changes to your book, so no one can be actively editing it. |
| Access Layout Styling under the Advanced tab. Click on the > button to open the drawer. |  |
Portrait template styleChoose a portrait template style, which will set the style of portrait, label and decorative options. Special templates are available for two portrait options (eg. portrait + baby pic, graduation candid + standard portrait) and for memory & quote text. If duo portraits or memories /quotes are selected, the portrait manager will need to contain the necessary photos and text. Consult the portrait manager article reviewing senior portrait special features for details. Consult the portrait style look-book for full details on the options available as well as customization advice. | 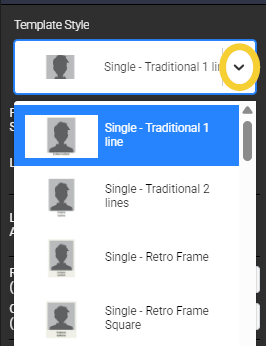 |
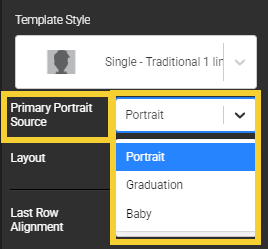
Portrait SourceBy default, the grid will display the standard portrait image uploaded for each person. However, the portrait manager enables the upload of up to three portraits for each person: a baby photo, a standard portrait and a graduation image.
|  |
Some portrait templates - labelled as "Duo" - include two images. When a Duo template is selected, then a second portrait source tab appears, allowing you to specify which portrait photo should be used in the second frame. |  |
Text SourceSome portrait templates - labelled as "Highlight" -- include an extra text field to hold a memory or special quote. This extra text is pulled from info entered into the portrait manager.Choose which of the fields to use for the text - quotes or memories.  |  |

|


For a more detailed review of portrait customization, consult the Portrait Grid Look-Book
Row and column spacingAdjust the amount of space between the rows and/or columns of your grid. | The default row and column is 0.1 inches.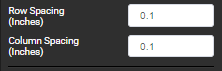 |
Increased row spacing will move the rows further apart, creating more space under each portrait.   | Increased column spacing will spread the images closer to the side safe margins. 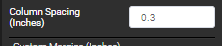  |
Custom MarginsIncrease the padding between the safe margins and the portrait grid. This feature is useful if you wish to move the grid over to make room for decorative elements or candid images. | 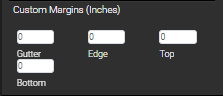 |
For example, add margin to create room for a banner. 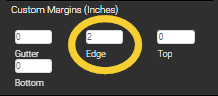 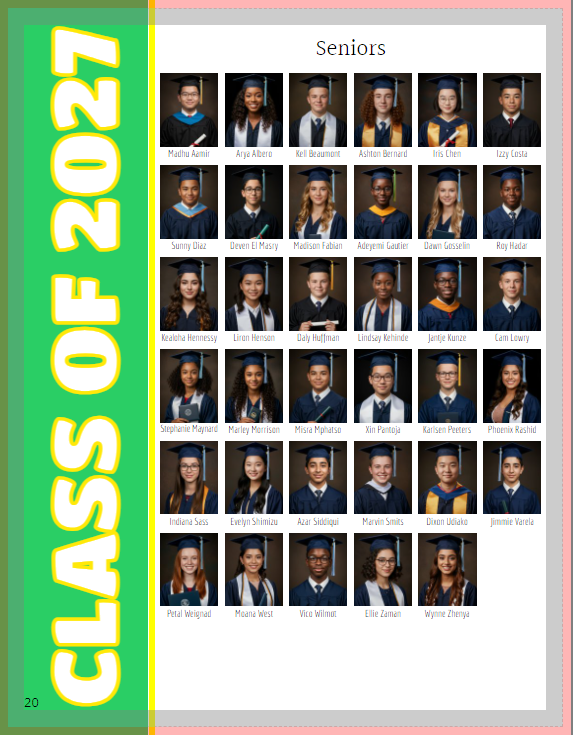 | Or clear space for a candids, text, and decorative elements.  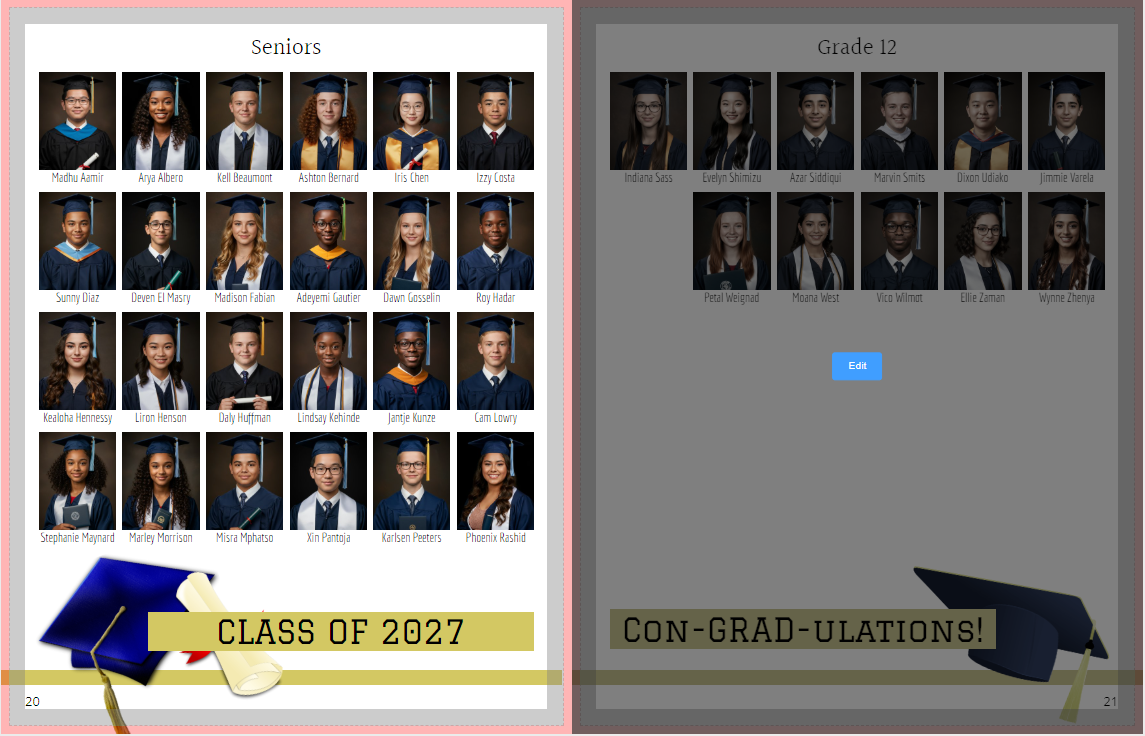 |
Add custom margins on all sides to provide more negative space around the grid. In this example, a shape with a border and transparent fill was added to frame the grid.   |
Was this article helpful?
That’s Great!
Thank you for your feedback
Sorry! We couldn't be helpful
Thank you for your feedback
Feedback sent
We appreciate your effort and will try to fix the article