Portrait photos may be imported without a database file. Information describing the portraits (first & last name, grade, teacher name, job roles) may be manually entered after importing the images directly in the portrait manager, allowing you to benefit from the portrait page automation tools rather than manually building portrait grids in your book.
This technique is useful for schools who have not been provided with a portrait package, or for homemade portraits created at the school for students who missed photo day.
Step 1: Access Manage Portraits
Click on Manage Portraits on the side menu, then check out your book. (Checkout is required since an import may affect page order/flow.)

Step 2: Import portrait photosClick on Import Photos to begin the process. |  |
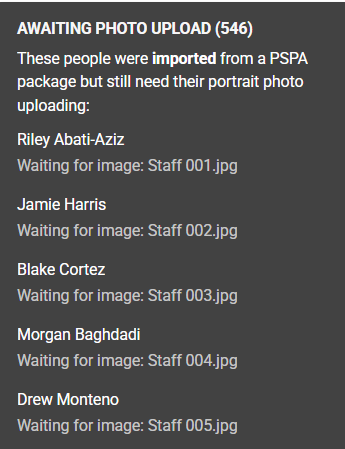
Click on the upload icon to navigate to the folder(s) on your system which hold the portraits. Multi-select all images (Ctrl-A on Windows, Cmd-A on Mac) to add all files within a folder at once. You can also drag the photos (one folder at a time, if applicable) to the upload icon. Note that a list of people waiting for portrait images appears below the import button.
 |  |
The images will begin uploading immediately. |  |
After uploading, click on View Portraits to see your Portrait database. Add names, grades, teacher/homeroom info, etc. to identify and group everyone in the import.
Using homemade portraits for people who missed photo day? You can recrop and color-correct these images directly in the editor after your images have been flown onto pages. Learn more about portrait image frame customization in the editor.
Was this article helpful?
That’s Great!
Thank you for your feedback
Sorry! We couldn't be helpful
Thank you for your feedback
Feedback sent
We appreciate your effort and will try to fix the article