Manage Portraits is where portrait images and information are added and corrected. After importing your portraits, you can add new people, correct name typos, reassign people to different groups, assign roles and priorities Customize your view and check for potential error with your portrait set. Any changes made to portraits in the portrait manager will automatically reflow affected portrait pages in your book.
To get started, click on Manage Portraits, then check your book out.
| Filtering by Group | Troubleshooting with Filters | |
| Portrait View Options | Customizing your view |
Understanding the Portrait Manager
The portrait manager includes five distinct areas designed to help you navigate your imported portraits.
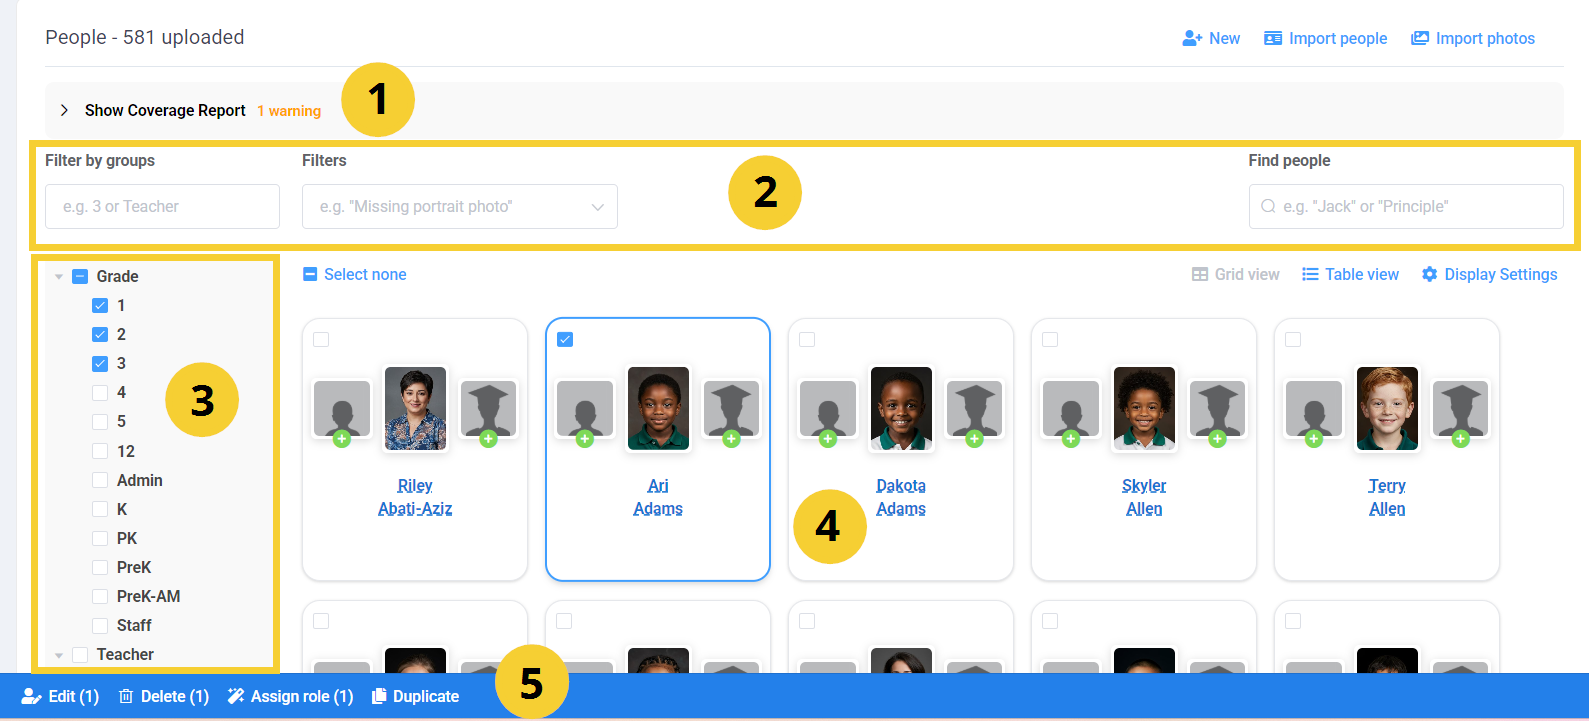
1. Coverage report: check for potential issues with your portraits
2. Filters: Show results by groups, by issue, or look for an individual by name.
3. Filter fields: Checkmark existing groups to show only the people assigned to it.
4. Portrait display: choose between two preset views or create your own custom view.
5. Selected portrait actions: checkmark one or more portraits to access controls (edit data, delete assign roles, duplicate).
Using filters to find individuals and groups
Filtering by GroupType the name of a particular group -- a teacher name, a grade, a homeroom (A) or use the list of groups to checkmark one or more groups. Only the people belonging to the group will be previewed. | 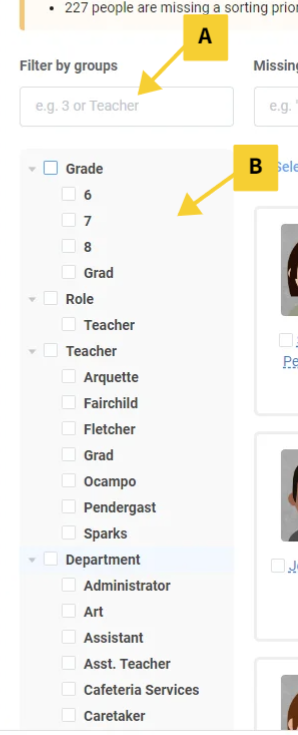 |
| Searching by name (individual person) In the Find People search box, type part or an entire name to show only the people who match. You can also search by job title or other custom field info that may be included in your portrait set. |   |
Troubleshooting with Filters
Missing Information Filters provide a quick way to find portraits that may be missing critical details.
For example, focus on portraits missing photos or names. | Check for students who have not been assigned to a grade, teacher and/or homeroom group. Correcting this type of error will ensure that every portrait will make into the yearbook. |
Portrait View Options
| The portrait manager features two default view modes: Grid View and Table View. Toggle between either view using the controls on the top right of the table. |  |
Grid View focuses on photos, with name and other data placed below the image(s) 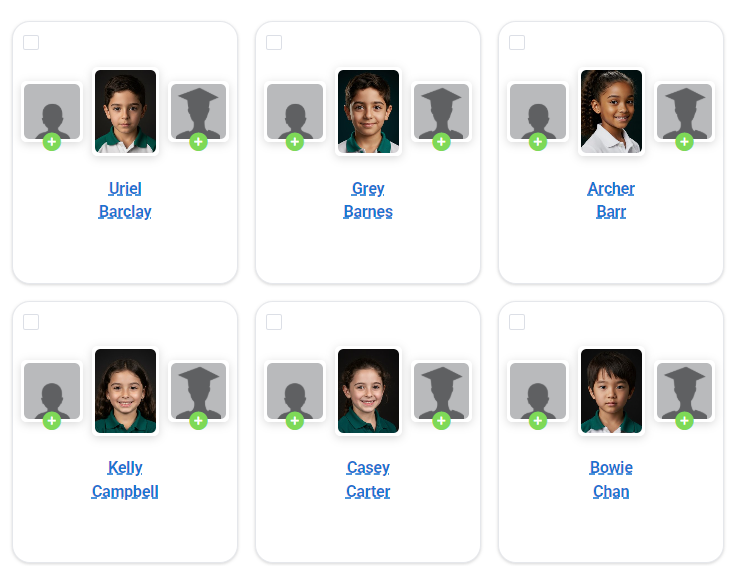 | Table View presents a sortable spreadsheet presentation to focus on the data.
|

Customizing your view
| Display Settings customize these views, showing you exactly the information you need to see. |  |
Table view customization includes options to choose which columns to show and what photos to feature. |  |
Table View: Field customization options 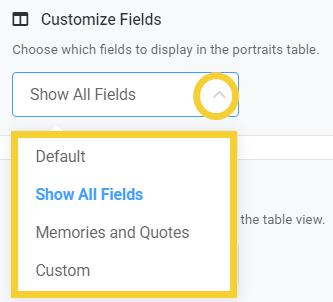 |
| 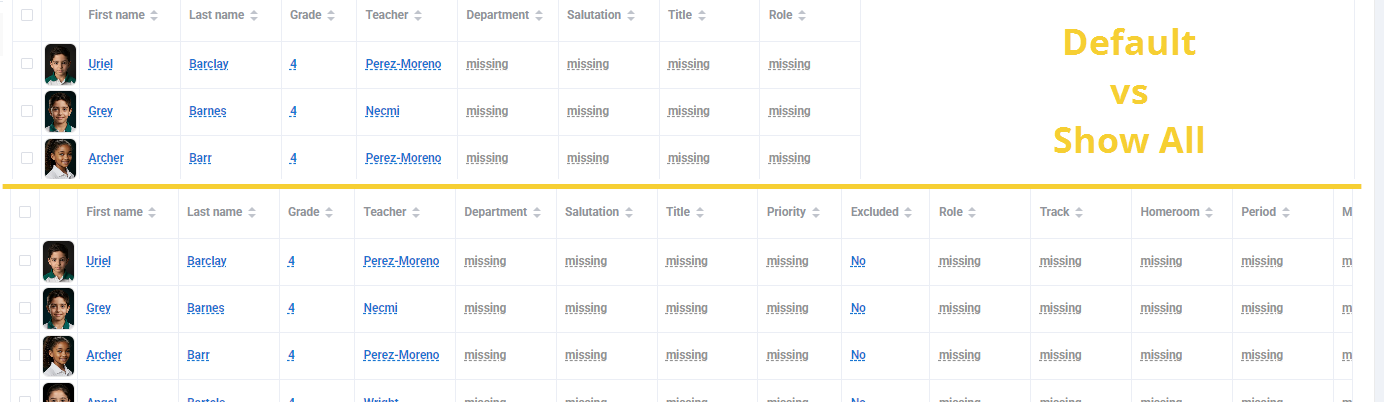 |
|  | |
|  | |
Table View: Default photo options 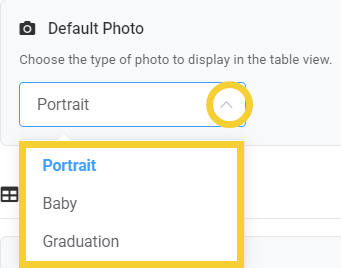 |
|  Each person may have three separate photos. 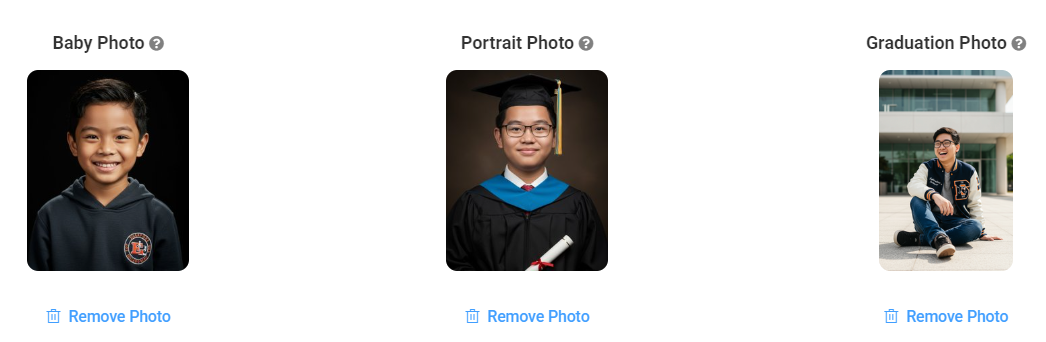 |
Grid View customization
 | The Default view displays all three image and the person's name. |
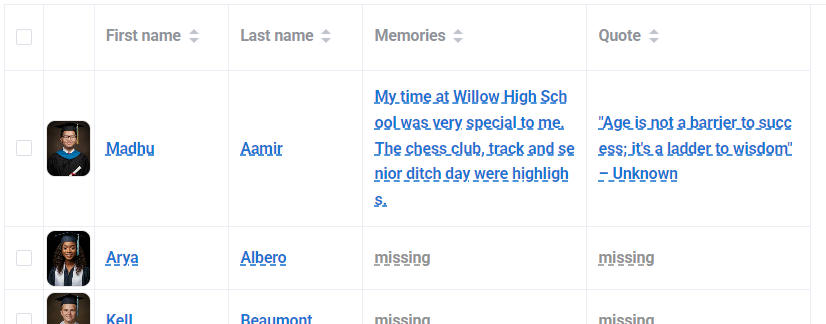
The Compact view shows a single image.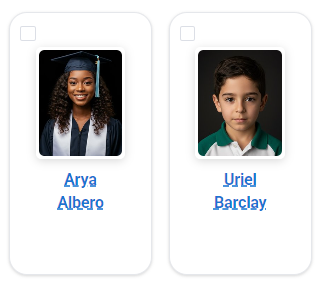 | The Memories and Quotes view adds extra text fields that makes it easy to enter custom text for senior class pages. |
Was this article helpful?
That’s Great!
Thank you for your feedback
Sorry! We couldn't be helpful
Thank you for your feedback
Feedback sent
We appreciate your effort and will try to fix the article