| Section Management Basics | |
| Page Management Basics | Working with Linked Double-Page Spreads |
Book Ladder Overview
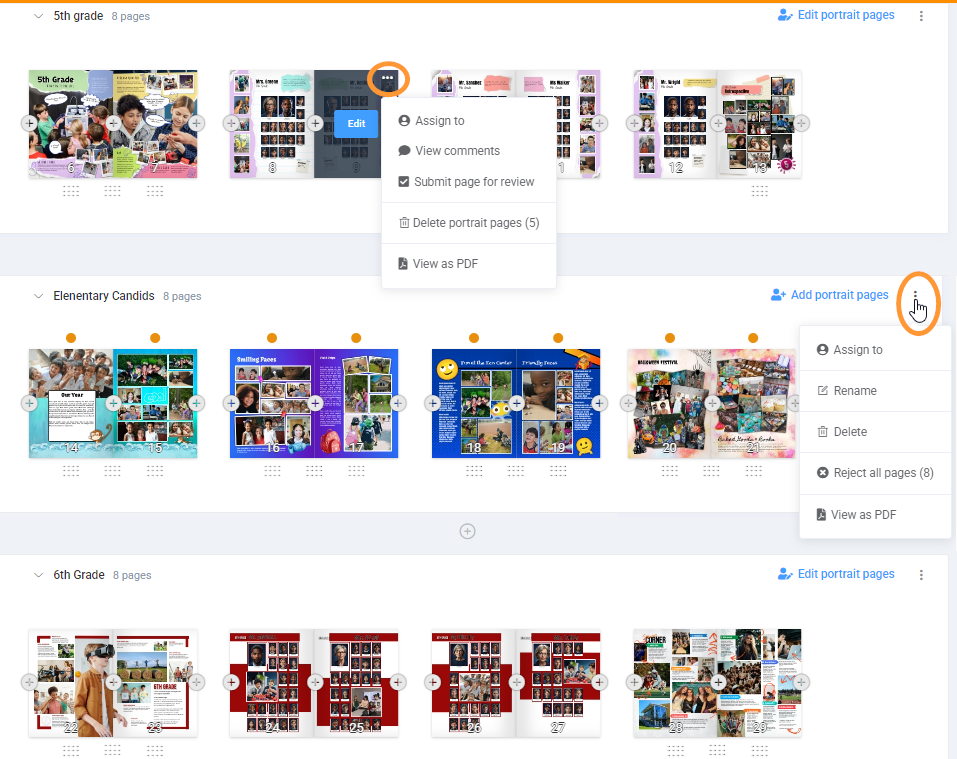
Sections divide your pages into thematic groupings to help keep your book organized. When your book is checked out, you will have access to tools to manage sections and pages: + icons to add pages and sections to your ladder, handles to move pages and sections, and menu icons to access additional management features.
Book Ladder View Options
By default, your ladder displays sections with small previews of the pages within them, as shown above. To see larger page previews, turn on the Book Preview tab at the bottom of the page.
Page numbers are automatically displayed over the pages for reference purposes. (They will not print in this manner in your book - customizable page numbering is offered in the Page editor.) To turn off the page number display, access the book menu (bottom of the web page) and choose Hide Page Numbers.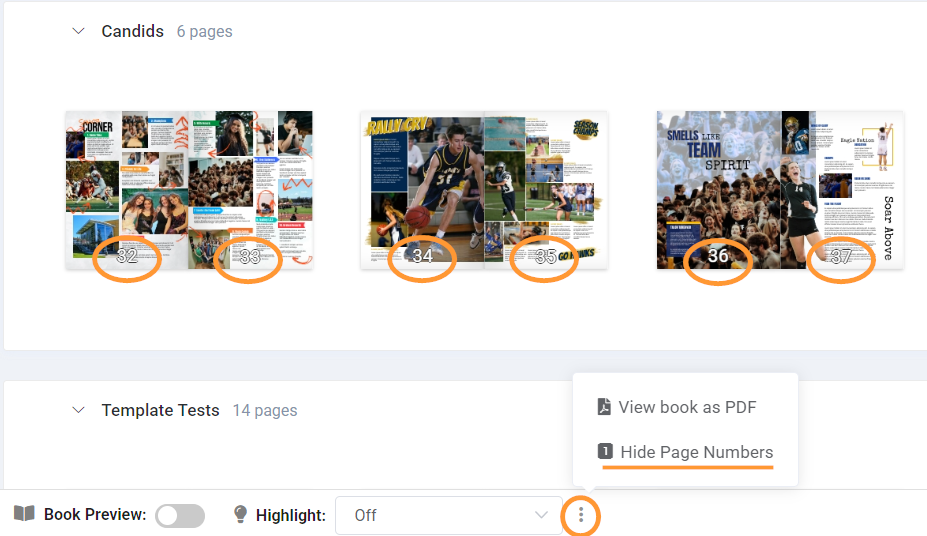
Turn page number display back on from this same menu.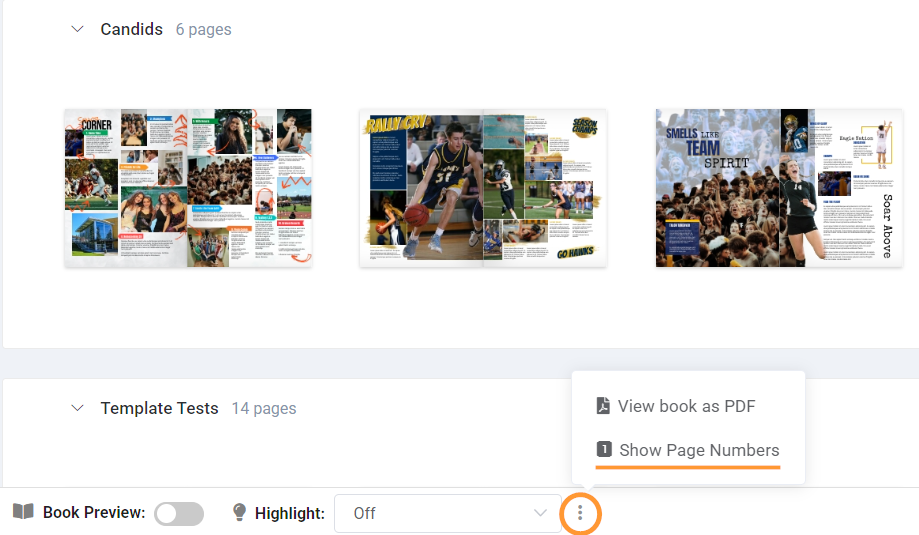
Book Check In / Check Out
To make any structural changes to your book ladder -- add/move/delete pages, add or reflow portrait pages. etc. -- your book needs to be checked out by an Editor or Editor-in-Chief. This prevents team members from working on the book while page order and page orientation might change.
Be sure to check in the book as soon as you have finished managing it, so that the other team members can continue to work on the book.
Section Management Basics
Adding a section
To Add a new section, click on the + icon above or below an existing section.

| Give the section a name, then click Add Section. | 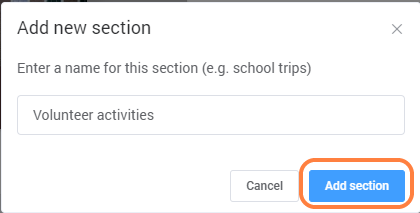 |
The new section will appear, ready for pages to be added. |  |
Moving a section
After the book has been checked out, switch on the Move Section button at the bottom of the screen.

The sections will collapse to a flat list. Drag a section by its handle to a new position in the book. Turn the Move Sections switch off to access the full ladder again.
Renaming a section
After checking the book out, click on the menu icon in the upper right corner of the section, and choose Rename.
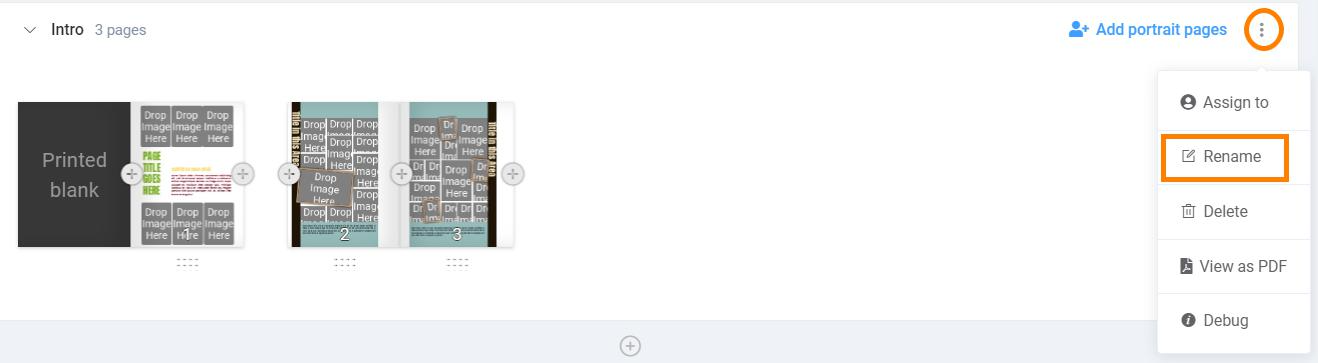
Enter the new name for the section and click Rename Section.

Deleting a section
Check out the book then click on the menu icon in the upper right corner of the section. Choose Delete to remove the section and every page contained within it.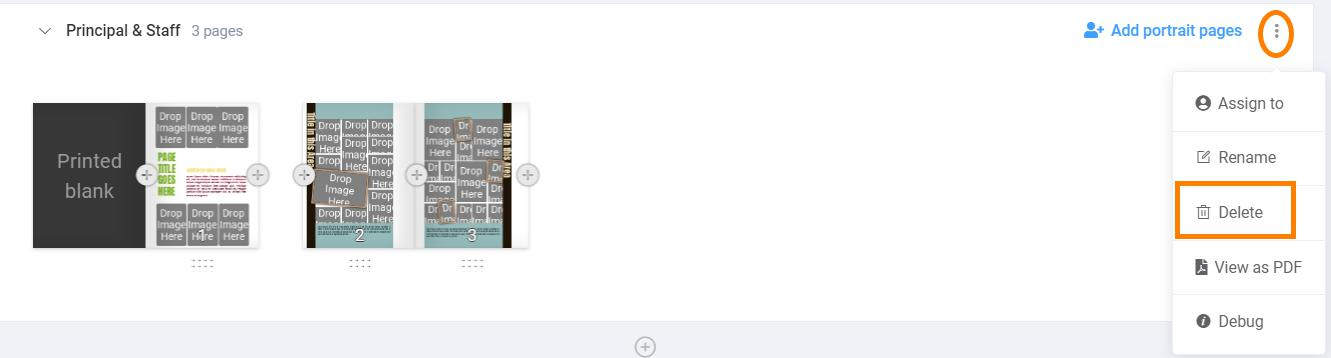
Next, confirm the deletion of the section. Important: ALL pages in the entire section will be permanently deleted!

Page Management Basics
When the book is checked out, + signs appear on either side of pages: click these to add pages. Handles appear below the pages. Click and drag on a handle to move the page. Note that adjacent pages may be moved using the handle between the two pages.
Hover over an individual page to access the Edit button, which will launch the page in the editor. Click on the ... menu to access additional tools for the individual page.
|  |
Pages are displayed as left-side or right-side pages. Adjoining pages are shown as touching each other. If a section starts with a right side page, a "ghost" preview of the adjacent left- side page appears next to it, to help visualize how the printed book will appear. |  |
Adding pages
After checking the book out, decide the number of pages to add in your section. At the bottom of the book manager, change the number of pages to the number you want to insert (the default is 2). Click on the -/+ sign to decrease or increase the page count as desired, up to a maximum of 20 pages.
Click on the + sign in the pages area of your section to add the selected number of pages. The pages will appear after the + sign.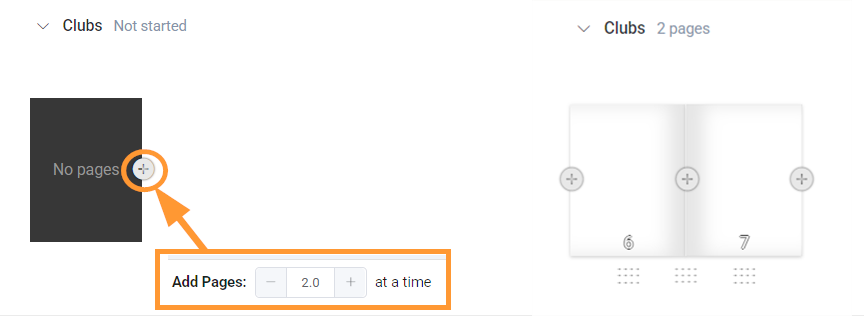
Moving pages
After checking out the book, handles will appear beneath candid pages. Click down and drag on one of the handles to move the page. You can move pages individually using the handle directly under them, or move them as a spread by using the handle in the middle of two facing pages. If you move a spread next to a left-side page, the pages will split apart.
Pages may be moved between sections. If the sections are far apart, click on the V button next to the name of sections to collapse them so the original and destination sections are closer together, and/or move the page incrementally from section to section until it is placed in its new position.
 |  |
Portrait pages cannot be dragged into a new ladder position and will not show handles. Candid pages may be moved around and between portrait pages. If you need to reorder portrait pages, reflowing the groups to a new order. All decorative elements will be preserved.
Duplicating a page
After checking out the book, hover over a page to access its menu icon, then choose duplicate. An exact copy of the page will appear next to it. Duplication is a quick way to create a layout to repurpose with new photos, particularly if you use the layout flipping tool to mirror pages horizontally or vertically.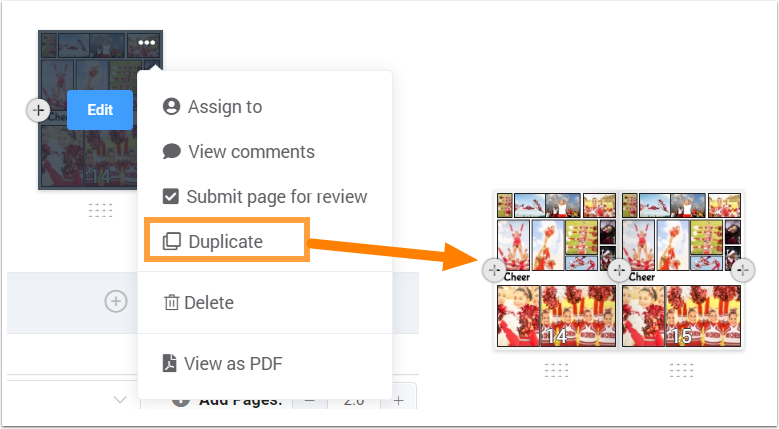
In addition to duplication, you can save a page as a layout. Learn more about this feature.
Deleting a page
After checking out the book, hover over a page to access its menu icon, then choose delete. Confirm the deletion of the selected page. 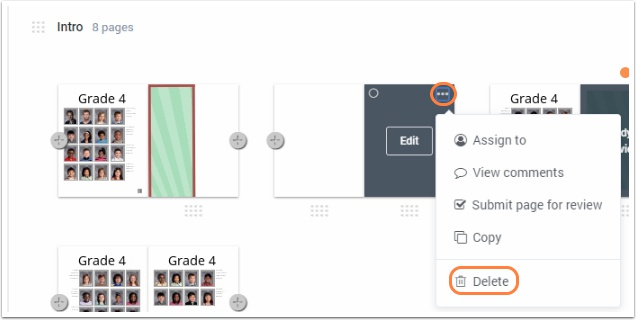
Important: Deleted pages may not be restored - so be very careful when removing pages from your book!
Working with Linked Double-Page Spreads
If a background or frames are added across a spread in the editor, then the pages are automatically locked together on the book ladder as a double-page spread.
| Spread in the editor: Background, shape and a banner cross the gutter  | Locked spread on the ladder: Green lock appears at the bottom of the spread.  |
Hovering over the lock provides access to an info tip, indicating why the pages are locked (content over the gutter) and how to unlink them (remove content over the gutter in the editor).


Adding/Moving/Deleting Pages Around Locked Double-Spreads
If a single page is moved between a locked spread, the pages will split apart and a red unlinked warning will appear on both pages.

Other locked spreads on the ladder may be affected when single pages are repositioned above them through the addition, deletion or moving of pages on the ladder. A single page inserted or removed in front of a spread will cause left-and-right facing pages to become separated. Affected pages will also show the unlinked warning.

To relink spreads separated with a page between them, simply delete/move the page. To relink spreads displaced by an odd number of pages in front of them, add another pages before the split spread. In both cases, the spreads will heal. Reopen them in the editor to adjust the layout slightly, and the green link icon will reappear on the ladder.

Permanently Unlinking a Broken Spread
If you do not wish to heal a broken spread but instead permanently unlink it, hover over the unlinked warning then click on the info tip.

Choose Unlink in the Separated Double Spread window. The error will no longer be reported on the ladder.

Important: If a designer with the role of staffer needs to work on a double-page spread, then they must be assigned to both left- and right-pages.
Was this article helpful?
That’s Great!
Thank you for your feedback
Sorry! We couldn't be helpful
Thank you for your feedback
Feedback sent
We appreciate your effort and will try to fix the article