Submitting the yearbook does not mean the yearbook will go straight to the printing presses! It is a multi-step process designed to ensure best possible results when the book does go to print.
- Understanding the Dashboard Proofing Page
- Proofing the Trimmed Flipbook
- Proofing the Trimmed Cover Spread
- Proofing the Downloadable PDF Files
Step 3: Rejecting, Correcting, & Resubmitting
Step 5: Studio Source Technical Review
Step 6: Ordering and Production
Step 1: Book SubmissionClick Submit to Publisher in the Admin menu | 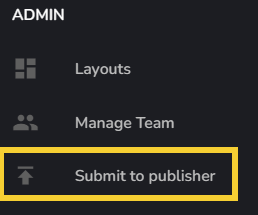 |
Checkmark My yearbook is ready to be sent to my publisher, then click Submit Yearbook. | 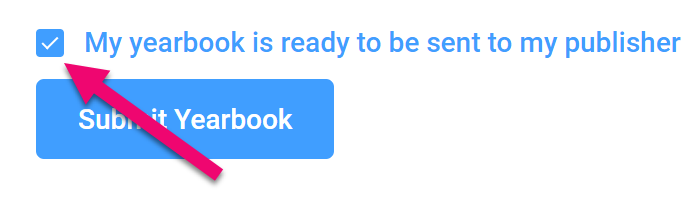 |
You may receive a warning about your book if it does not meet certain requirements. Be sure to review any portrait warnings prior to submission to ensure that no one is left out of the book! |  |
Once the book meets the requirements of the publisher, you will be allowed to proceed. If you are sure you want to proceed, click the Yes button. |  |
Once you submit your yearbook, it will be locked for editing. No additional edits may be made unless it is rejected on the Studio Source Dashboard).
The proof will be rendered, then uploaded to the Studio Source Yearbooks Dashboard. Rendering times may vary depending on the size of the book and the time of the year ~ 30 minutes or less in the off-season, up to 2 hours in the spring.
Step 2: Dashboard ReviewWhen the proof has been received on the Dashboard, anyone with proofing permissions will receive an invitation to review the proof. A link to get to the Dashboard proof will be included in the email. Click on this to review the proof. If your book includes two cover choices (hard & soft cover option) you will receive two proofing notifications, one for each cover type. | 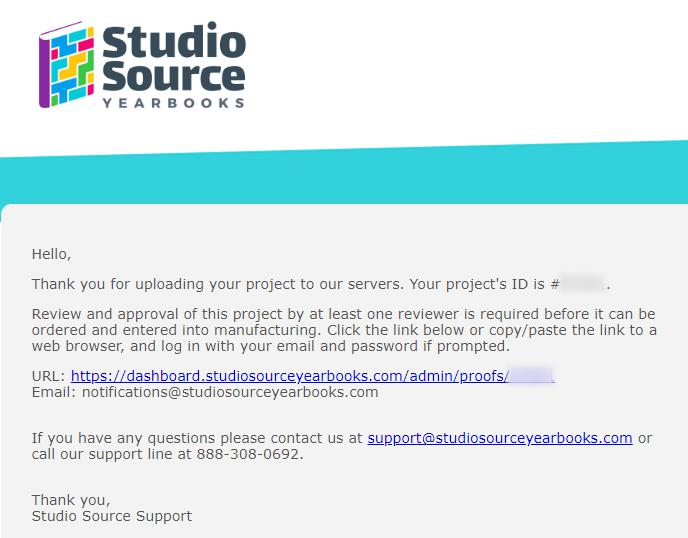 |
Need to get to your proof without a link? Log into the Studio Source Dashboard, scroll down to your At A Glance view to find the Proof tab. Click on the last submitted proof to access it. It should be marked with a "Needs Review" status. Note: if you have a book with two binding types (eg. a hard cover and a soft cover), you will need to access both proofs to review them separately. | 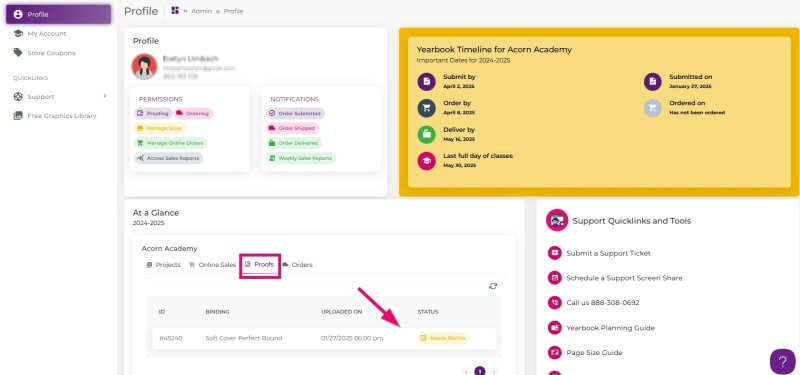 |
Understanding the Dashboard Proofing Page
When the Dashboard proof launches, you will find a trimmed flipbook at the top of the page followed by a trimmed version of your cover at the bottom.

| A. Proof ID – Unique number used to identify each proof | F. Trimmed Flipbook – Preview of book after it is trimmed and bound |
| B. Project Info – Your studio, software, cover type and school name | G. Page Navigation – Allows you to navigate throughout the book |
| C. Review Status – Shows who can or has reviewed the book | H. Zoom – Allows you to zoom in/out and view the book full screen |
| D. Action History – A timeline of activity for this proof | I. Download PDFs – Allows you to download untrimmed views of your cover and interior pages for a fine-detail review |
| E. Proofing Checklist – List of items that need to be reviewed in the book |
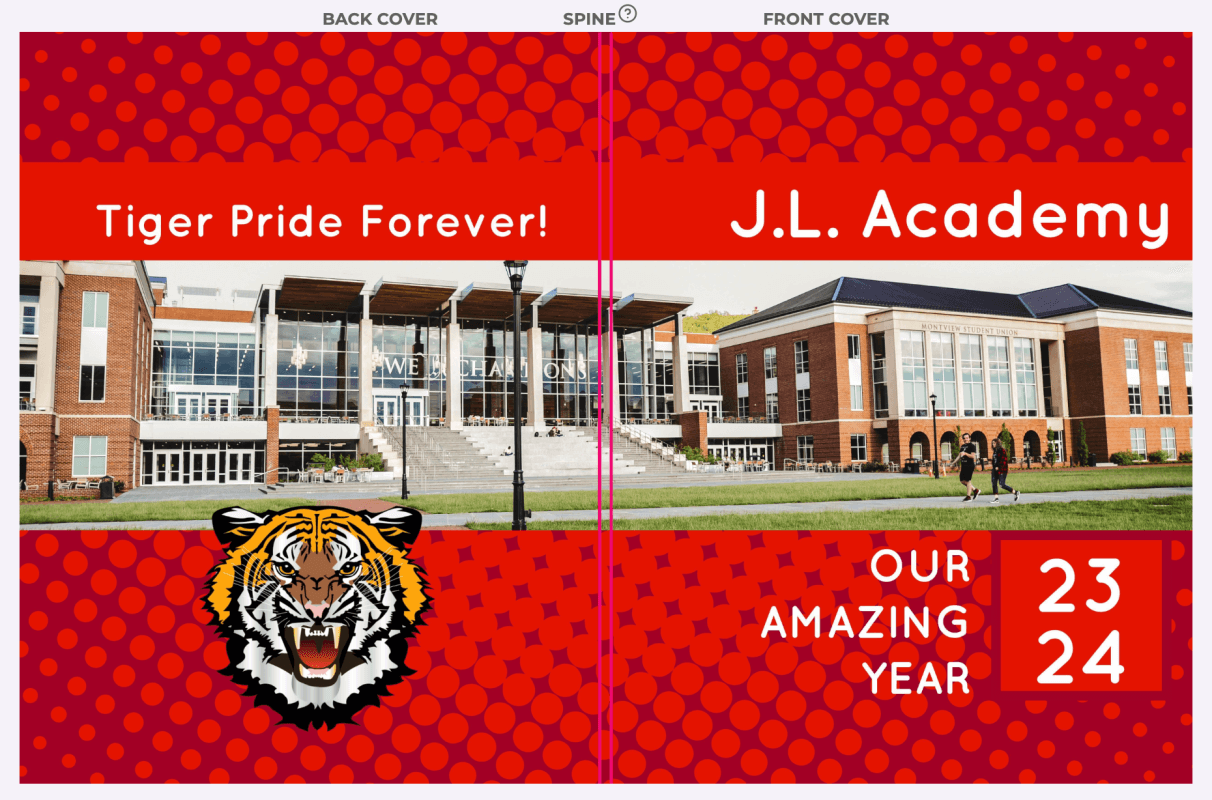
Scroll down the page to see a full spread view of your trimmed cover. Note: The spine guideline(s) appear in the middle of the page to define the back and front cover views.
Proofing the Trimmed Flipbook
The flipbook is trimmed to provide the best representation of how your final proof will appear printed and bound. This view is ideal for finding major design/placement issues.
It is important to note this view is an approximation of how your printed book will appear. Paper may move or stretch slightly (up to 1/8th of an inch) during printing. It is important to review the flipbook to make sure that no important content is too close to the page edges, as it may be trimmed more than shown on any side of the page.
 | Placement errors to look for in the flipbook:
|
Proofing the Trimmed Cover Spread
The cover of your yearbook is a very important feature on your book, so review it carefully for issues.
- Text and images closer than 1/4" from the spine guidelines
- If the book’s spine is wide enough to accommodate text, it must be centered within the spine guidelines and no more than 70% of the spine’s width
- Typos in your school name and other text.
Proofing the Downloadable PDF Files
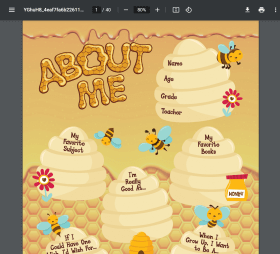
The Downloadable PDF files show a full, untrimmed page. They can be downloaded or printed on your local printer to pass to other proofreaders. |  |
The PDFs display your pages in a large, clear format, so this is the best opportunity to check for:
|  |
Tip: Check out the Proofing Checklist article to learn more about each item you need review in your proof before clicking Approve.
Step 3: Rejecting, Correcting, & Resubmitting
Memento will automatically lock your book when you submit a proof to the Studio Source Dashboard. Should you find things in your Dashboard proof that you want to change, simply reject the Dashboard proof. Your Memento book will unlock.
Back in Memento, reject pages, sections or the whole book to edit your work, then resubmit your book when all corrections are done.
To reject the proof on the Dashboard: Open the existing proof in the Studio Source Dashboard Click the Reject button above the flipbook | 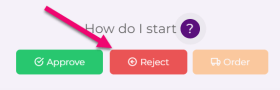 |
Once your book is unlocked, your pages will be flagged as Ready for Proofing in Memento, still unavailable for editing. Reject the pages, sections or the entire book to edit pages again.
| Reject a page Hover over a page to access the menu, then Reject Page. 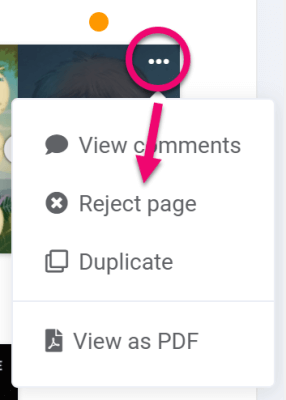 | Reject a section Access the section menu on the far right of the page, then choose Reject all pages. ** Important: to work on a portrait page, reject the entire section.  | Reject the entire book Access the book menu at the bottom of the screen to Reject all pages. 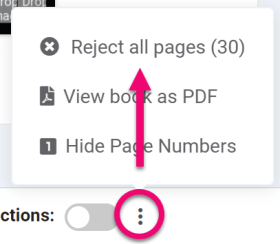 |
Resubmitting the Book
Once corrections are complete, follow the instructions in Step 1: Book Submission.
Important: The new proof will have a distinct proof number, different from the previous submission. Be careful to review the latest proof on the Studio Source Dashboard, and not an older rejected proof! Using the link in the proof notification email is the best way to get into the book, since you can check the date of the email to verify the submission date.
Step 4: Approve for Proofing
To approve the proof, review each item on the checklist to the left of the flipbook (Click each list title to review all items on the list) Every item on the checklist needs to be marked off to approve the proof. Click Approve to move forward. |  |
Verify that you checked the Downloaded PDFs of the cover and interior pages. Click Continue Read the Proof Review and Approval Agreement. Type your full name below the agreement Click Approve |  |
Step 5: Studio Source Technical Review
After a yearbook adviser or a studio has approved the Dashboard proof, most yearbooks will receive a technical review by the Studio Source Team. This review will focus on technical issues with the book -- looking for content placement issues, copyright violations and other problems that may incur reprints or a rejection from the manufacturer. A maximum of two review are provided.
If problems are found, the Studio Source reviewer will marked the book as rejected during review. A detailed report will be sent to your studio and/or the primary adviser on the account.
Should corrections be required, simply follow Step 3 above, to reject your book, then make corrections and resubmit.
Note: Your studio may choose not to use the Studio Source Internal Review process, in which case your book will be available for order as soon as it is marked as “Customer Approved.”
Step 6: Ordering and Production
After the yearbook proof has been approved by everyone required by your studio and it has passed the Studio Source technical review, the orange order button will become live and the final book order may be placed on the approved proof. For many yearbooks, the studio will place the order, so only they will see the live orange order button. If you have ordering permissions, you will receive an email notification to let you know that your proof is available to order, linking you back to the approved proof. If you are placing the order, be very careful to get the order quantities correct. Once your book is sent to the manufacturer, quantities may not be updated! |  |
Was this article helpful?
That’s Great!
Thank you for your feedback
Sorry! We couldn't be helpful
Thank you for your feedback
Feedback sent
We appreciate your effort and will try to fix the article